- What is React Router Dom?
- Creating a React App
- Installing React Router Dom
- Setting Up React Router Dom
- What is React Router Redirect?
- What is React Navigate Component?
- What is React useHistory Hook?
- How to Redirect to the Previous Page with useHistory?
- How to Redirect to a URL in React?
- What is React useNavigate Hook?
- React Conditional Redirects with useNavigate
- How to Redirect to the Previous Page with useNavigate?
- Wrapping Up
Redirecting is a vital feature in a frontend application, such as a React app, because it allows us to programmatically redirect from one URL to another without using an anchor link <a> or a React Router <Link/> component.
In this article, we’ll look at using the React Router v6 to implement a redirect in a React application.
What is React Router Dom?
React is a single-page application and an un-opinionated JavaScript UI library that does not impose any architecture or principles on you as a developer, instead giving you the flexibility to set up your project as you see fit, including the use of any other library.
React does not include a routing feature out of the box; in fact, this is one of the reasons react is not a framework in the first place, but rather a UI library that we can combine with other libraries to achieve our goals.
Frontend frameworks like Next.js use a built-in file-based routing system which does not require any setup. You can check out the difference between Next.js and React.js in this blog.
To achieve navigation in our React application, we’ll make use of the React Router library.
Creating a React App
Skip this section if you have an existing React application playground.
Or use the following command to create a new react application:
1 | npx create-react-app my-app |
Next, run the following command to navigate to your newly generated app directory:
1 | cd my-app |
Then run the following command to start your React server:
1 | yarn start // or npm start |
Your server should launch in your browser at http://localhost:3000/, as shown below:

In the next sections, we’ll install the React Router Dom library in our React application.
Installing React Router Dom
The react-router-dom package is an open-source project with over 8 million weekly downloads on npm and over 48k stars on GitHub.
Run the command below to install the React Router Dom package:
1 | npm install react-router-dom |
or use yarn:
1 | yarn add react-router-dom |
You can check out other installation methods from the official doc here.
Setting Up React Router Dom
After installing the React Router Dom, update your index.js file with the following code:
1 2 3 4 5 6 7 8 9 10 11 12 13 14 15 16 17 18 19 20 21 | import React from "react";import ReactDOM from "react-dom/client";import "./index.css";import App from "./App";import reportWebVitals from "./reportWebVitals";import { BrowserRouter } from "react-router-dom"; // New lineconst root = ReactDOM.createRoot(document.getElementById("root"));root.render( <React.StrictMode> {/* New line */} <BrowserRouter> <App /> </BrowserRouter> </React.StrictMode>);// If you want to start measuring performance in your app, pass a function// to log results (for example: reportWebVitals(console.log))// or send to an analytics endpoint. Learn more: <https://bit.ly/CRA-vitals>reportWebVitals(); |
From the code above, we’re wrapping our <App/> component with the React Router <BrowserRouter/> that enables us to create routes within any child components in the App component.
Next, navigate to your App.js component and update it with the code below:
1 2 3 4 5 6 7 8 9 10 11 12 13 | import { Route, Routes } from "react-router-dom";import "./App.css";function App() { return ( <Routes> <Route path='/' element={<h1>Home Page Component</h1>} /> <Route path='login' element={<h1>Login Page Component</h1>} /> </Routes> );}export default App; |
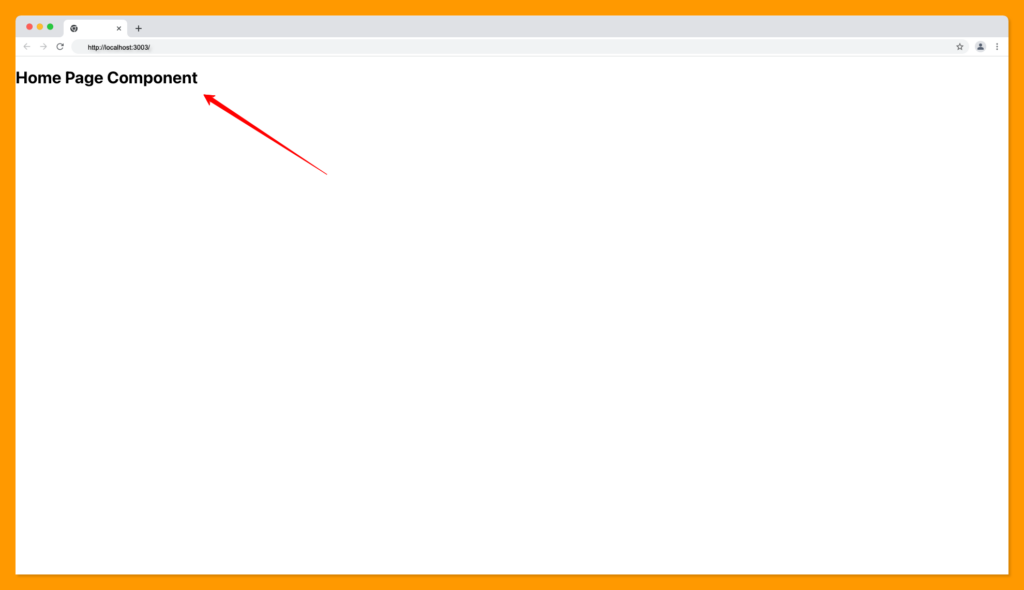
From the code above, we’re declaring that when we visit the root of our URL i.e http://localhost:3000/ we want to render the “Home Page Component” text like this:
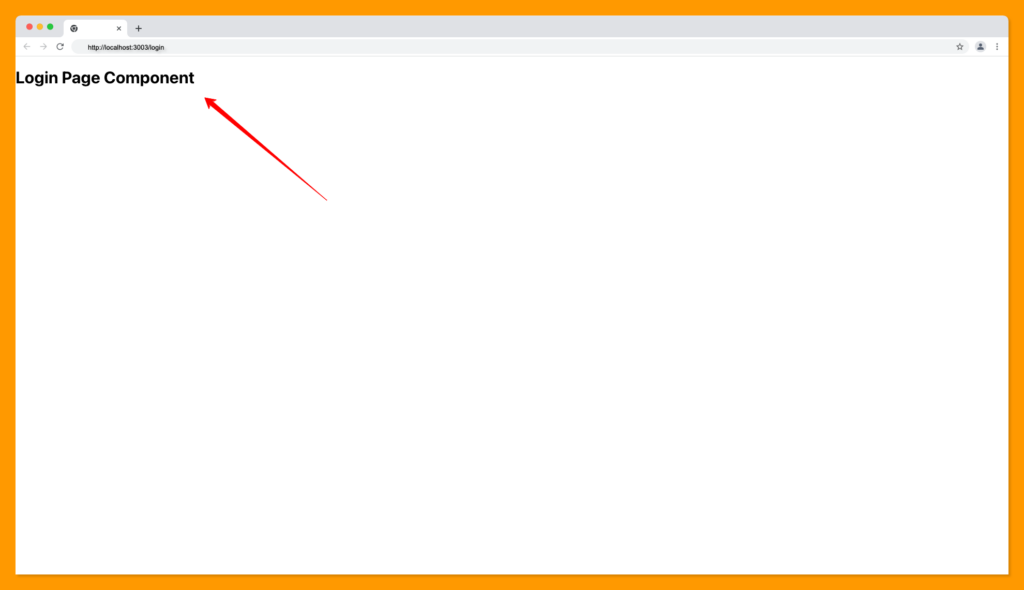
And when we visit the login path i.e http://localhost:3000/login we want to render the “Login Page Component” text like this:
When we visit a path that does not match our routes i.e http://localhost:3000/faq, we’ll get an error as shown below:
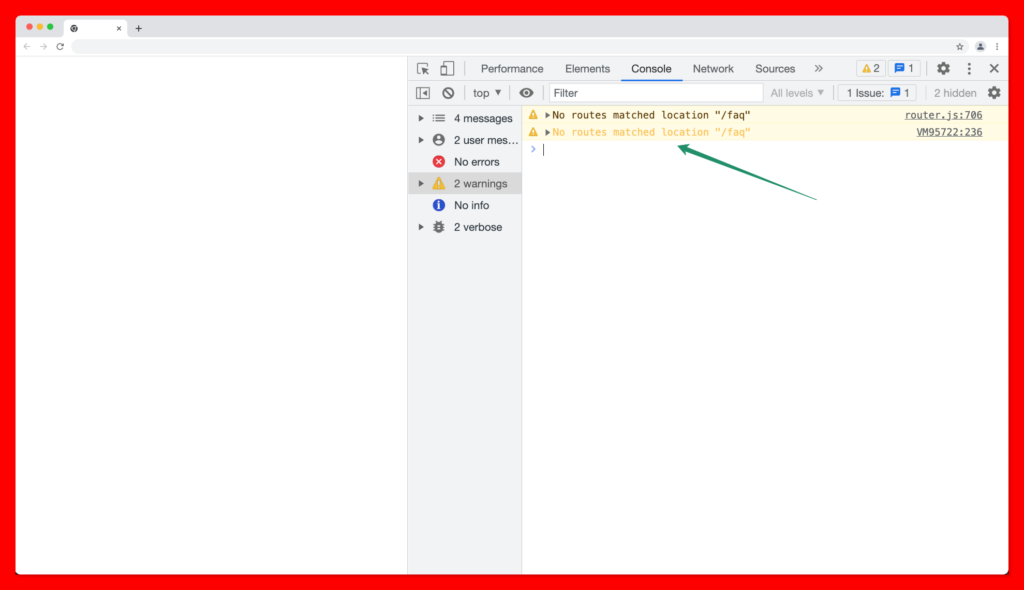
We can fix this issue by rendering a 404 page to the user or by redirecting them to the home page when they visit an invalid path. We’ll apply the later approach in the coming sections.
You can learn more about React navigation with React Router Dom here.
What is React Router Redirect?
React Router <Redirect/> is a routing component in React Router Dom v5 that enables us to override the history object and dynamically redirect a user from a route to a new route.
You can import Redirect from React Router v5 and render it as a component as follows:
1 | <Redirect to="/somewhere/else" /> |
The <Redirect /> component has been deprecated and replaced with React <Navigate/> in React Router v6.
What is React Navigate Component?
The React <Navigate /> is a newly introduced component in React Router v6 that serves the same purpose as the deprecated <Redirect /> component. It is used to change the URL of the current path to a new one when it has been rendered.
We can declare a redirect using the navigate component as shown below:
1 | <Navigate to="/somewhere/else" /> |
Given that we want to redirect the user to the home component when they visit an invalid URL on our app, we can write our navigation code like this:
1 2 3 4 5 6 | <Routes> <Route path='/' element={<h1>Home Page Component</h1>} /> <Route path='/login' element={<h1>Login Page Component</h1>} /> // New line <Route path='*' element={<Navigate to='/' />} /></Routes> |
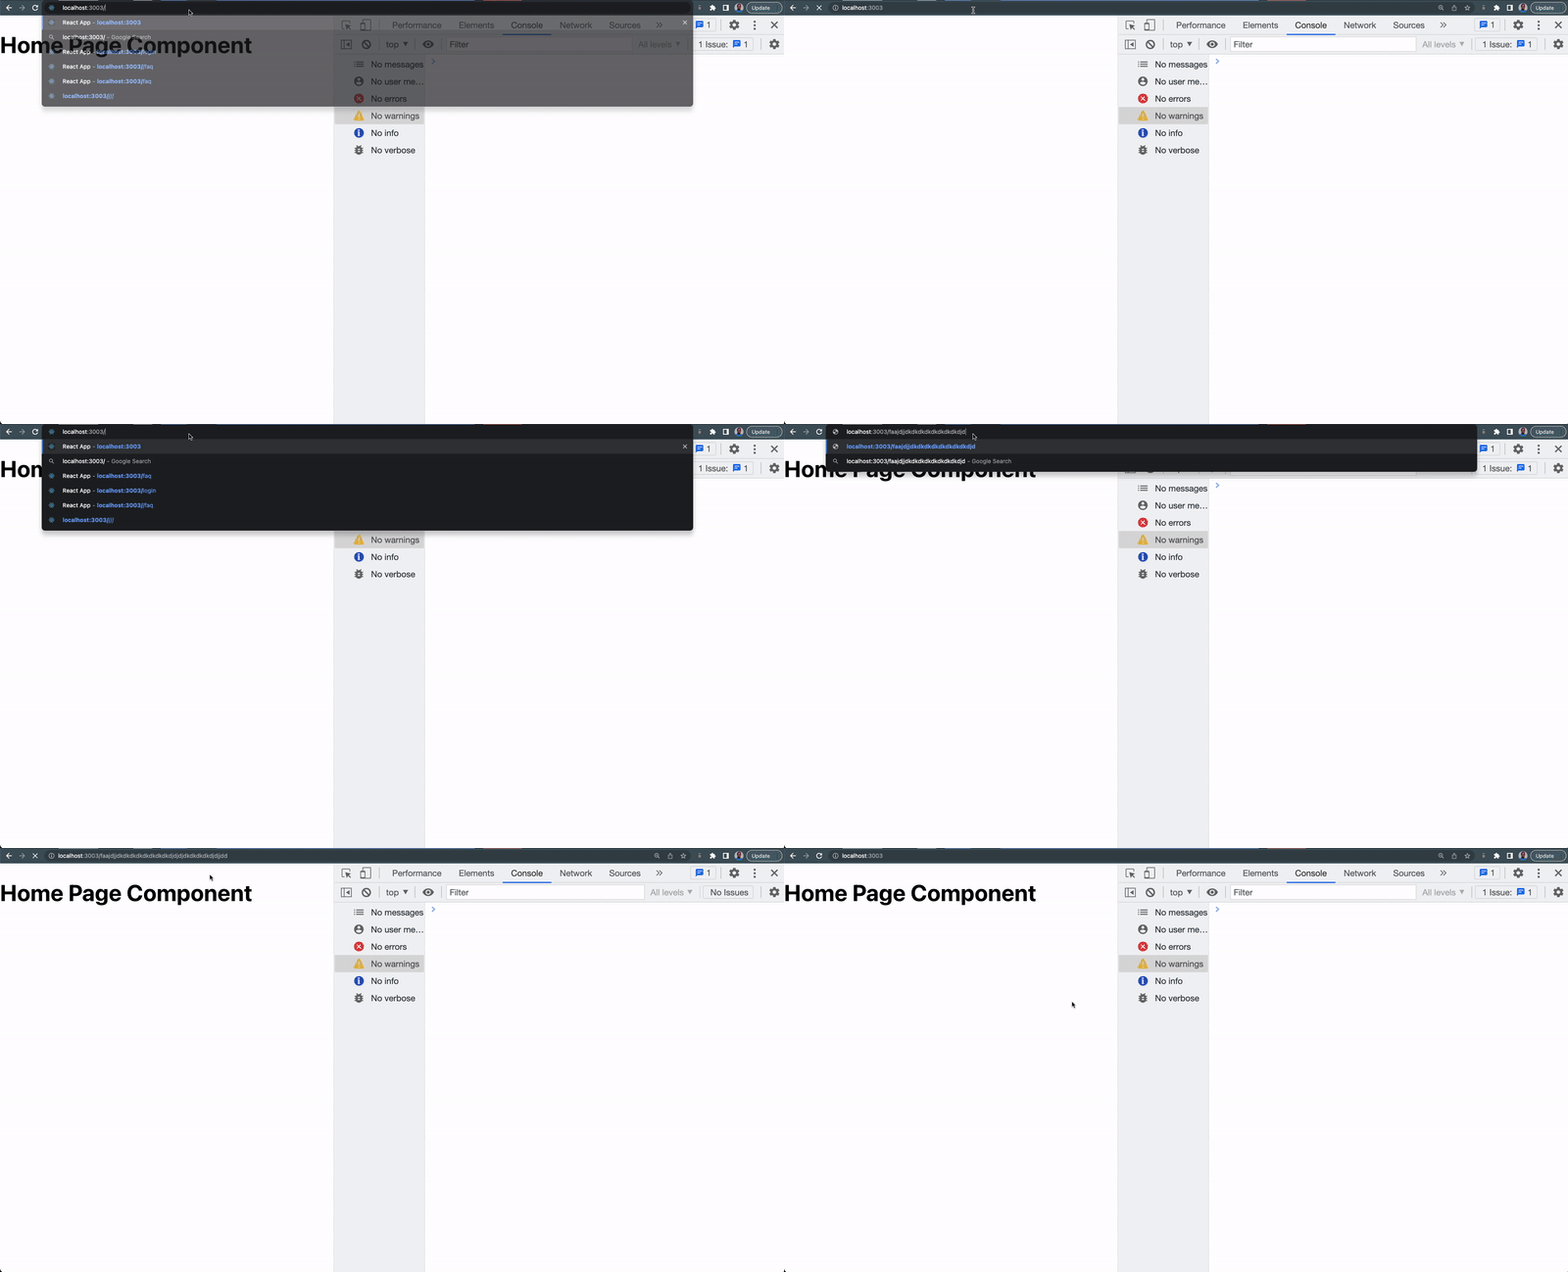
We’ll be redirected to the “Home page component” when we visit an invalid path as demonstrated below:
What is React useHistory Hook?
The useHistory hook is a function in React Router Dom v5 that gives us access to the browser history stack instance that can be used to navigate from the current location to a new location or back to a specific route.
How to Redirect to the Previous Page with useHistory?
The useHistory can be used to redirect to the previous page and can be written as follows:
1 2 3 4 5 6 7 8 9 10 11 12 13 14 15 16 17 | import { useHistory } from "react-router-dom";import "./App.css";function App() { const history = useHistory(); const handleGoBack = () => { history.goBack(); }; return ( <> <button onClick={handleGoBack}>Go Back</button> </> );}export default App; |
From the above code, we’re using the goBack() method from the useHistory hook to create a back button feature, where the user will be redirected back to the previous page in the history stack, this is also useful for breadcrumbs navigation in React.
How to Redirect to a URL in React?
We can also use the useHistory hook to redirect to a new path as follows:
1 2 3 4 5 6 7 8 9 10 11 12 13 14 15 16 17 | import { useHistory } from "react-router-dom";import "./App.css";function App() { const history = useHistory(); const handleGoHome = () => { history.push("/home"); // New line }; return ( <> <button onClick={handleGoHome}>Go Back</button> </> );}export default App; |
The useHistory has also been deprecated in React Router v6 and replaced with the useNavigate hooks.
What is React useNavigate Hook?
The useNavigate hook is a function that allows us to navigate to a path programmatically within a function, it takes the same prop as the <Navigate /> component and serves the same purpose as the useHistory hook.
React Conditional Redirects with useNavigate
Given that we want to conditionally redirect a user to the login page only when they are logged in.
Update your App.js file with the following code below:
1 2 3 4 5 6 7 8 9 10 11 12 13 14 15 16 17 18 19 20 21 22 23 24 25 26 27 28 29 30 31 32 33 34 | import { useEffect, useState } from "react";import { Navigate, Route, Routes, useNavigate } from "react-router-dom";import "./App.css";function App() { const navigate = useNavigate(); const [isLoggedIn, setisLoggedIn] = useState(false); useEffect(() => { // Checking if user is not loggedIn if (!isLoggedIn) { navigate("/"); } else { navigate("/login"); } }, [navigate, isLoggedIn]); return ( <> <Routes> <Route path='/' element={<h1>Home Page Component</h1>} /> <Route path='/login' element={<h1>Login Page Component</h1>} /> <Route path='*' element={<Navigate to='/' />} /> </Routes> {/* New line */} {isLoggedIn || ( <button onClick={() => setisLoggedIn(true)}>Log me in</button> )} </> );}export default App; |
From the above code, we’re checking the login state of the user, if they are not logged in, we want to redirect them to the home component and then redirect them to the login page when they’ve logged in by clicking the “log me in” button.
The explanation above is demonstrated as shown below:
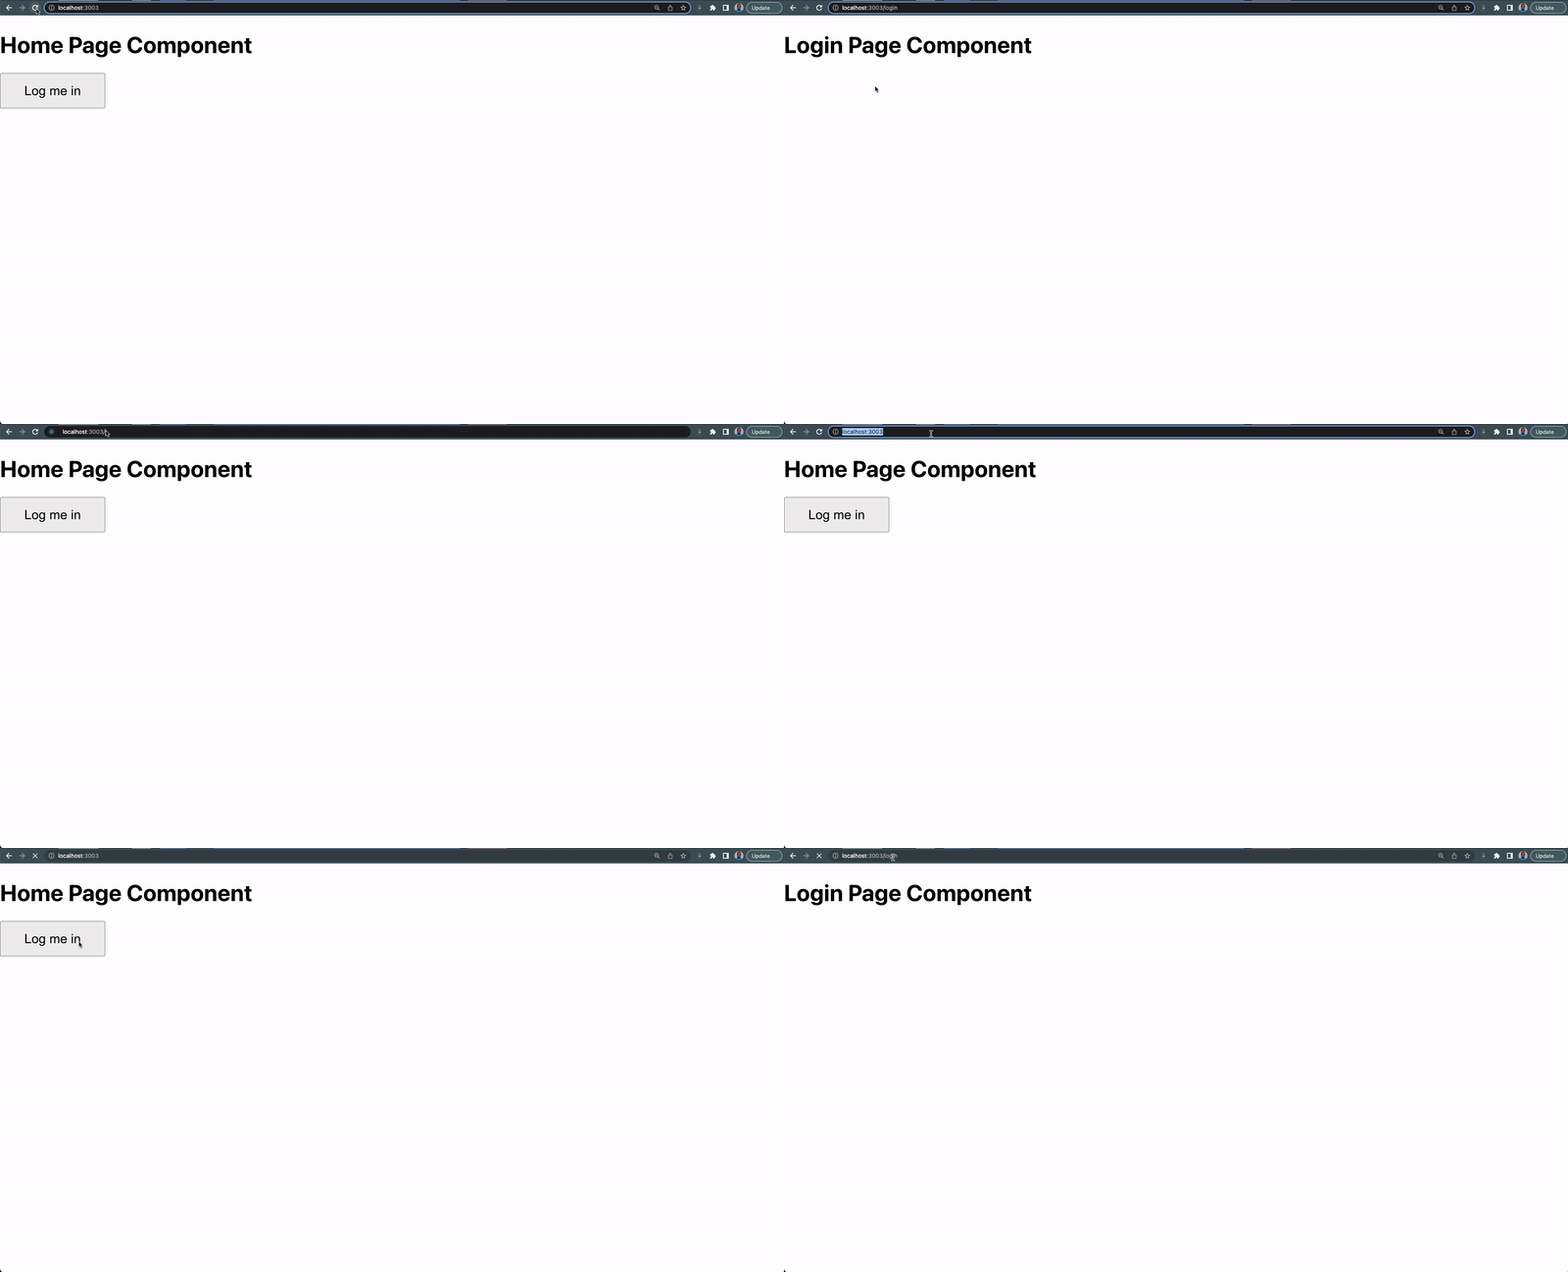
The useNavigate hook is useful for protecting routes and redirecting to a new route within a function as demonstrated in the useEffect function in this section.
We performed the conditional rendering in the useEffect so that the condition will be evaluated in the initial render and before fetching all the data needed in the component.
How to Redirect to the Previous Page with useNavigate?
We can redirect to the previous page using the useNavigate hook by passing a negative integer to the navigate function as shown below:
1 2 3 4 5 6 7 8 9 10 11 12 13 14 15 16 17 | import { useNavigate } from "react-router-dom";import "./App.css";function App() { const navigate = useNavigate(); const handleGoBack = () => { navigate(-1); // new line }; return ( <> <button onClick={handleGoBack}>Go Back</button> </> );}export default App; |
Our component will now start redirecting to the previous page as demonstrated below.

Wrapping Up
In this article, we learn how to redirect from one URL to another using the React Router Dom version 6 Navigate component and the React Router Dom useNavigate hook.
Learn about React Router Dom version 5 from the video below:
If you also want to learn how to handle routing in your React app from the server-side check out Remix by the React Router Dom team.
Finally, you can find more incredible articles like this on our blog at CopyCat. CopyCat is a tool that saves you about 35% of development time by converting your Figma files to an up-and-running React project. Check it out here.
Interesting Reads From Our Blogs
- The Most Complete Guide for React Navigation
- React Hooks: Understanding How React useRef Works
- How to Add Toast Notifications to a React App Using React Toastify
- React Datepicker Complete Guide With Examples
Check out the CopyCat plugin for React if you’re seeking amazing React tools to help you build component code faster and be production-ready than your competition!
Happy Coding!


